


When I make pants from one of my homemade patterns, it always feels like one of those hold-your-breath, moment of truth type of situation. Sure, you can complete all the stages of creating your block no problem. If, in the end, it looks anything like a pants pattern, then you can pat yourself on the back for a job well done. Using it as an actual pattern and seeing if these pants actually fit you, well, that can be a scary thing. I think the reason it's scary is because you've invested so much time even creating the pattern and, even if you following every step, there's still a moment of doubt. Maybe you messed up terribly and the finished pants don't even come close. But eventually the moment of truth arrives and it's really inevitable. You try them on and, holy smokes, it fits! There is no greater feeling in the world than this. Starting from just a piece of paper and ending with some well fitting pants is really a big accomplishment. I feel that way every time I do it and I'm sure you will too.
If you haven't done the Basic Pants Pattern tutorial, I definitely recommend going through that video before previewing this one. My goal with this tutorial was not only to show you how to make your pants, but, also, how to make slight alterations to your basic pants block. Even with careful measurement and careful drafting, you'll be very lucky if you didn't have to do any adjustments. Even I find myself making adjustments here and there until the pants are fitting exactly how I'd like. Once you make those adjustments, you can keep your block and use it to create different styles and know that they'll pretty much fit perfectly. The other great thing is that the more you tweak, the more comfortable you'll get at doing little alterations to even commercial patterns. Working with your body and your measurements so closely, you'll soon learn what works and how to change it so that it's better for you.
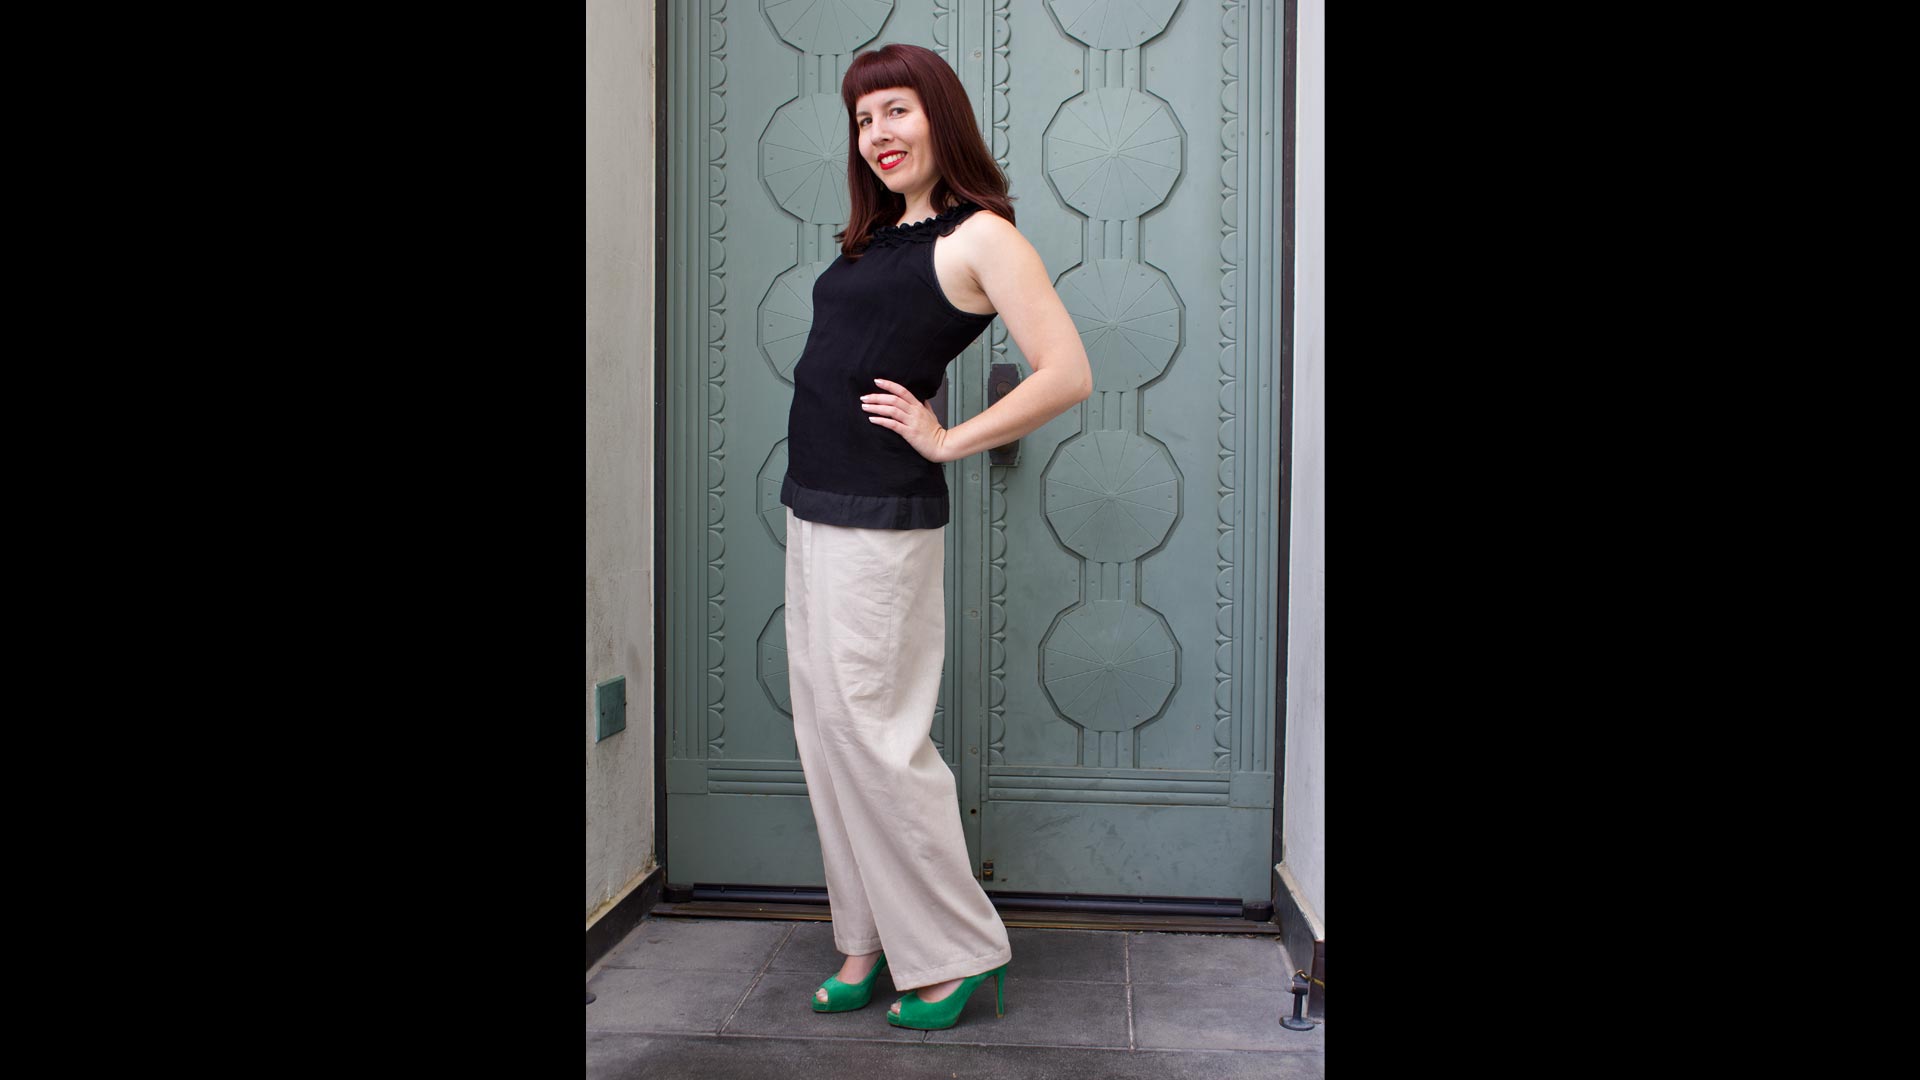
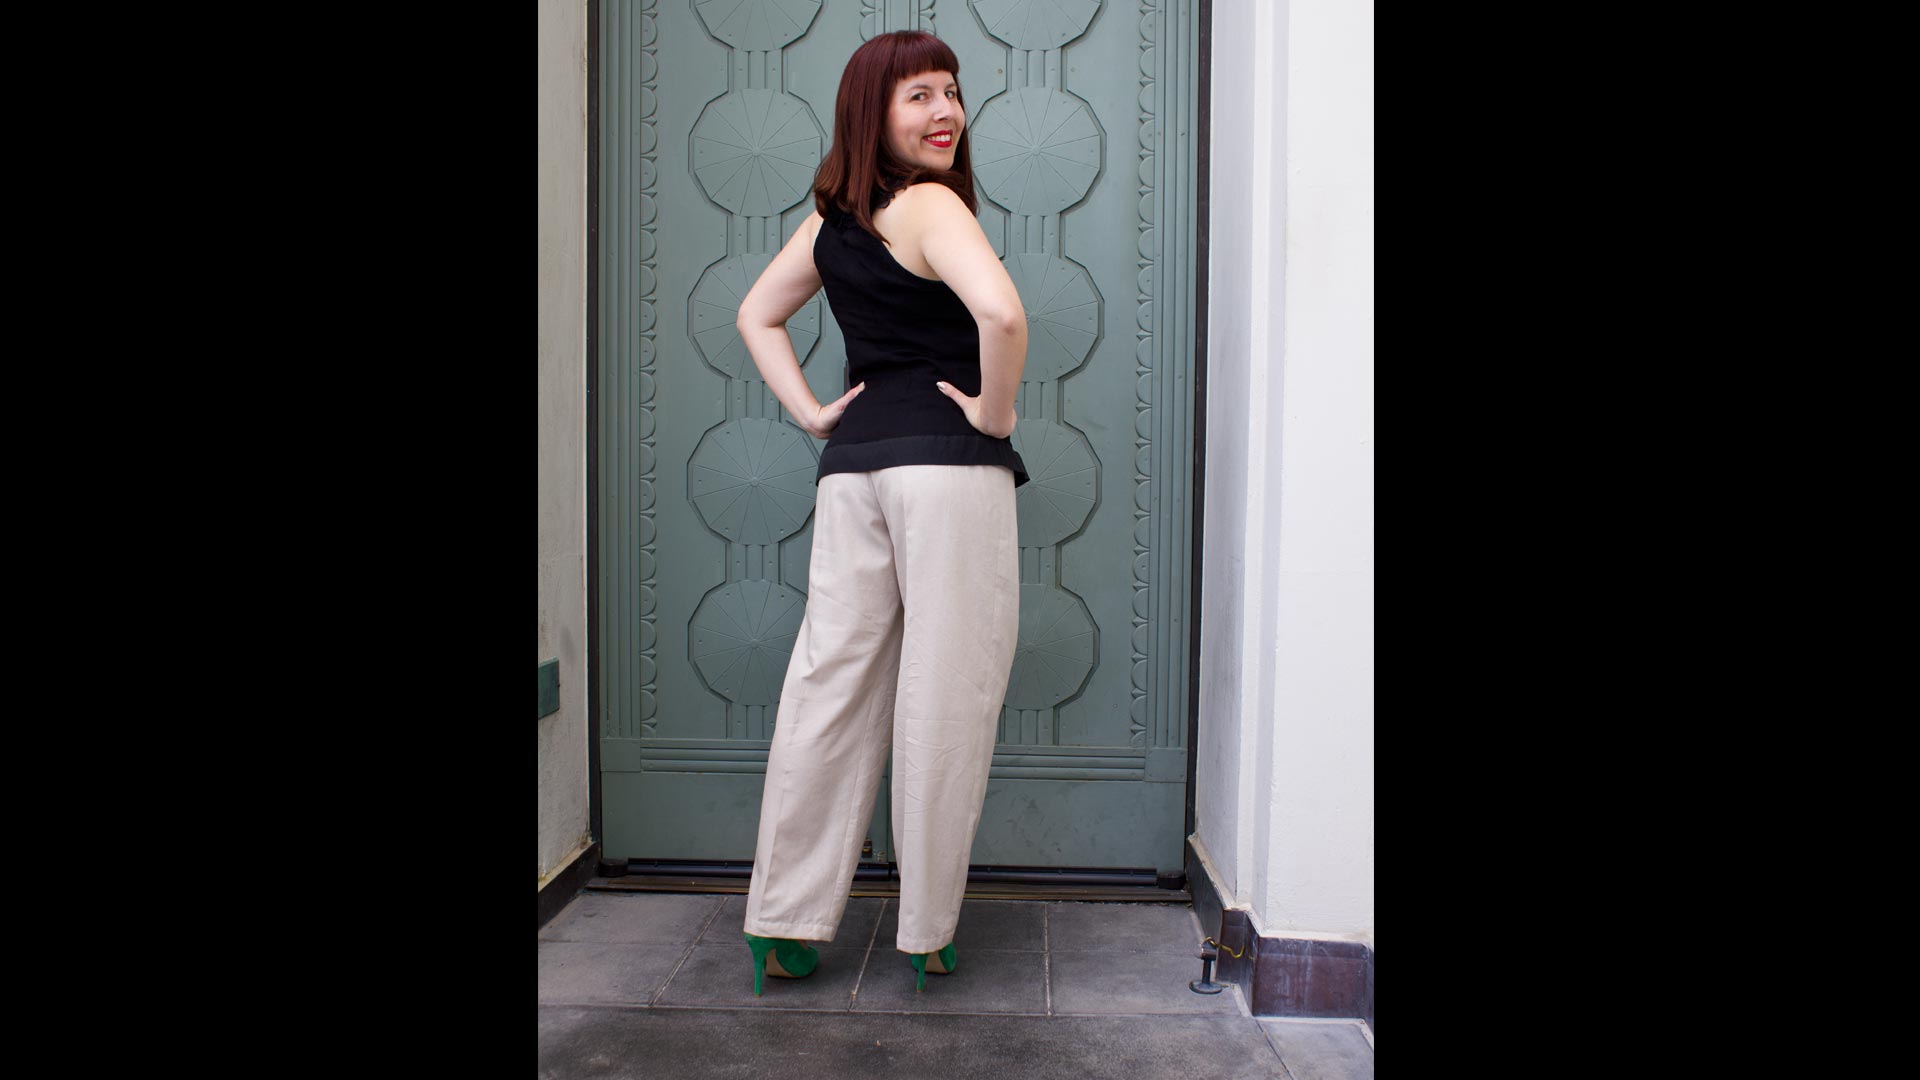
These pants are very basic but you really need to start with basic so you can create the building blocks to doing something cooler. Even then, they're still cute pants and have a vintage feel. They're high-waisted with pleats and look best when pressed neatly with a crease down the center of each leg. I put my zipper in the left side seam, but I also go over how to put it in the front or back if that's what you prefer. This pair pants and the silver pair shown in Basic Pants Pattern were made from linen. I love linen for when the hot, summer months are nearly upon us and it's very easy to work with. It does tend to wrinkle very easily but it's lightweight, cool and these pants are really easy to dress up. The best part is, just by changing the length of your pantleg, you can easily create patterns for capris or shorts. It's like getting three great patterns with pretty much only doing the work once!

Is here! Great! Thank you.
Like this video need to watch this video again until I get it