
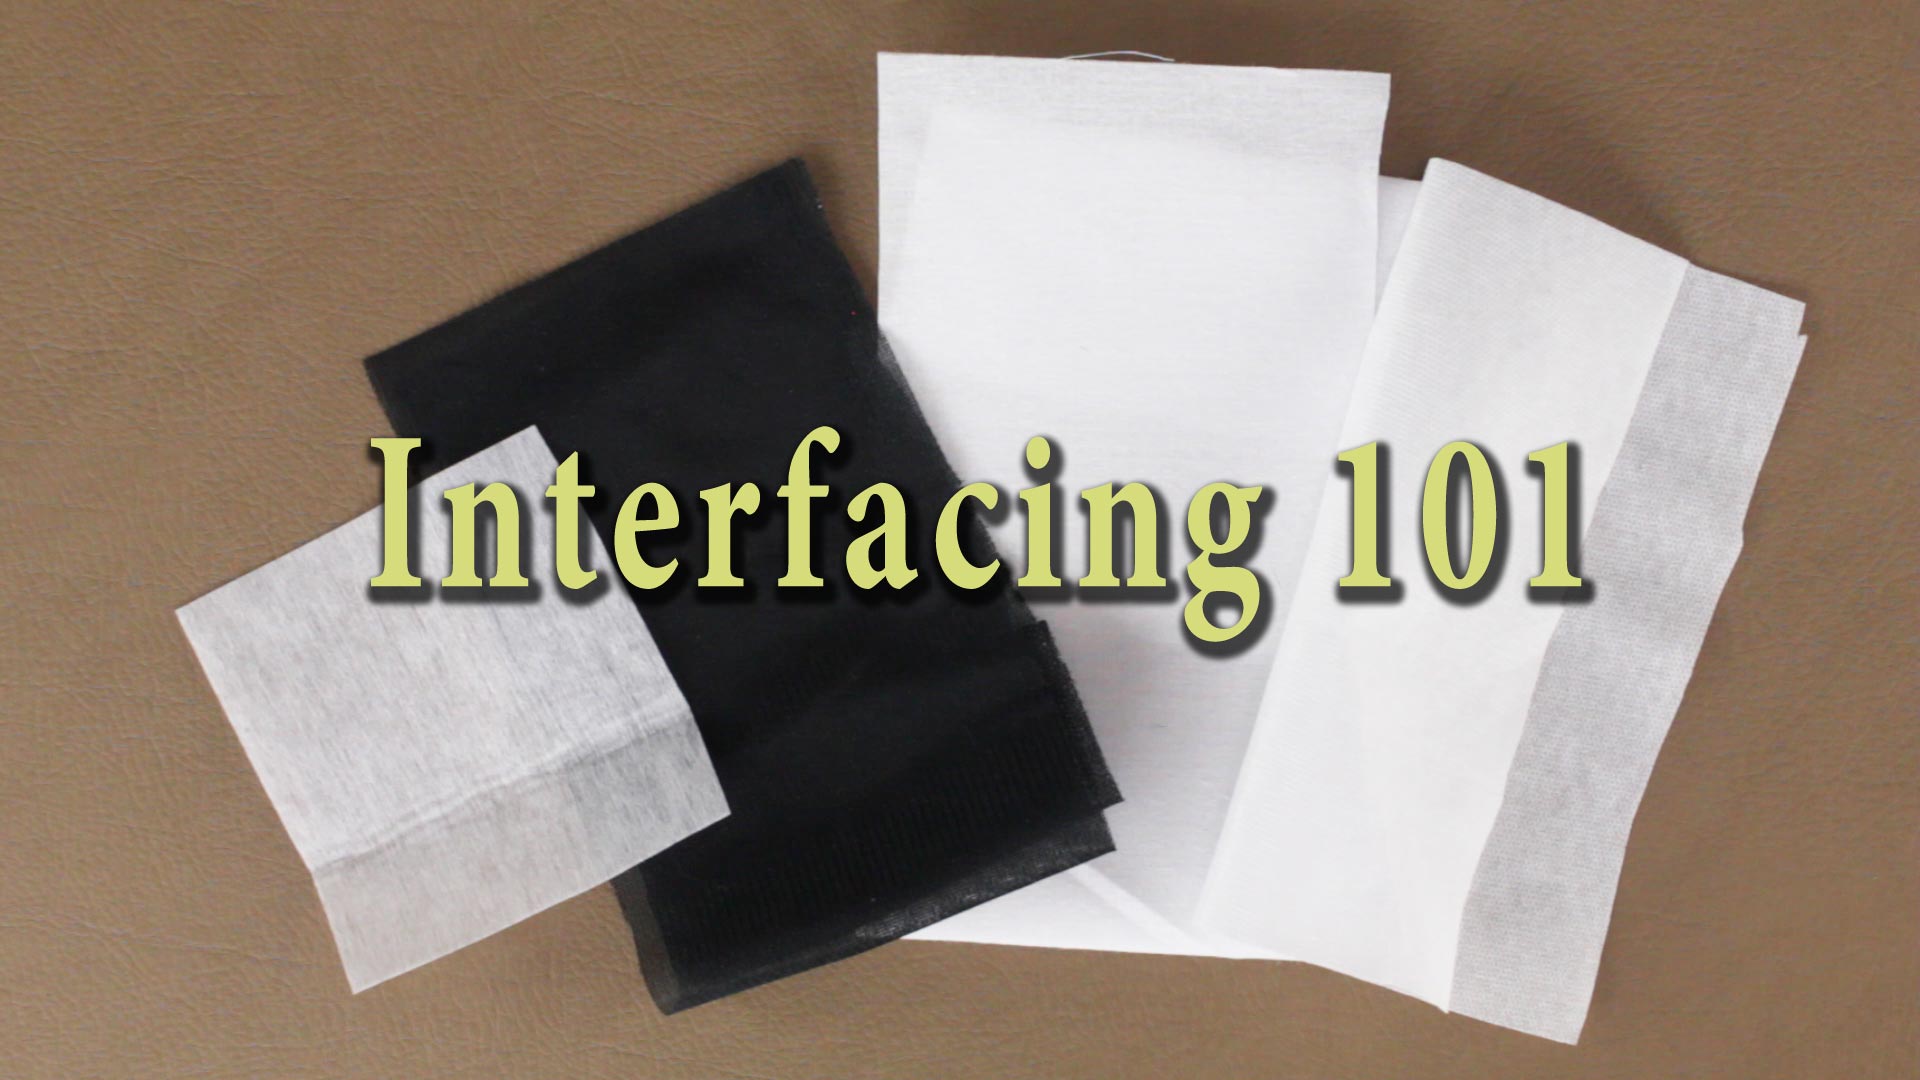
 As a beginner, you may think that the only thing you need to sew a garment is a pattern, fabric and thread, with maybe the occasional button or zipper. The reality of the situation is that sometimes there's a lot more that goes into sewing a project and it may be something that's not obviously visible. Interfacing is one of our sewing heroes. When used correctly, interfacing will never be seen on the right side of the garment so many people don't even know it's there. This element, though, is incredibly important as it gives shape and stability to parts of our garment, such as collars, cuffs, waistbands and facing pieces. Because of its many different uses, you'll find many different types of interfacing, which can add to the confusion. This tutorial helps cut through this confusion, providing an understanding of interfacing. When it's time for you to use it in one of your projects, you'll be able to pick the interfacing that will work best with your fabric and project.

4 thoughts on “Interfacing 101 – Basics of Interfacing”
Leave a Reply
You must be logged in to post a comment.
If you look at the end of the bolt, it should give you care instructions. You shouldn’t have to pretreat nonwoven, fusible interfacing. Woven interfacing is similar to fabric so it probably would be a bad idea to hand wash and dry it 🙂
I’ve bought interfacing before and it never said to pre-treat it. Do hand wash it? Thanks!!
Thanks for this and for other videos too. I am learning more and more all the time.
great, thank you