
 Let's face it. There are probably not many of us out there that fit in the neat little box that are pattern measurements. If we're lucky, we're going to get close, maybe being off by a few inches. If we're unlucky, then chances are it might be worse than that. Well, we're here to help the lucky and unlucky alike with our tutorial showing you how to make your own alterations to commercial patterns. For instance, in this tutorial we demonstrate how to increase the waist measurement so you can create a garment that looks like it was custom fitted using the pivot and slide method. We show you how to do a waist increase alteration on a bodice pattern, on a bottom pattern (like a skirt) and, last but not least, for the waistband. Now you'll no longer have to waffle between which size to choose. And when you see how quick and painless using the pivot and slide method is for altering the waist on a commercial pattern, you'll save yourself time in alterations later on the the completed garment.
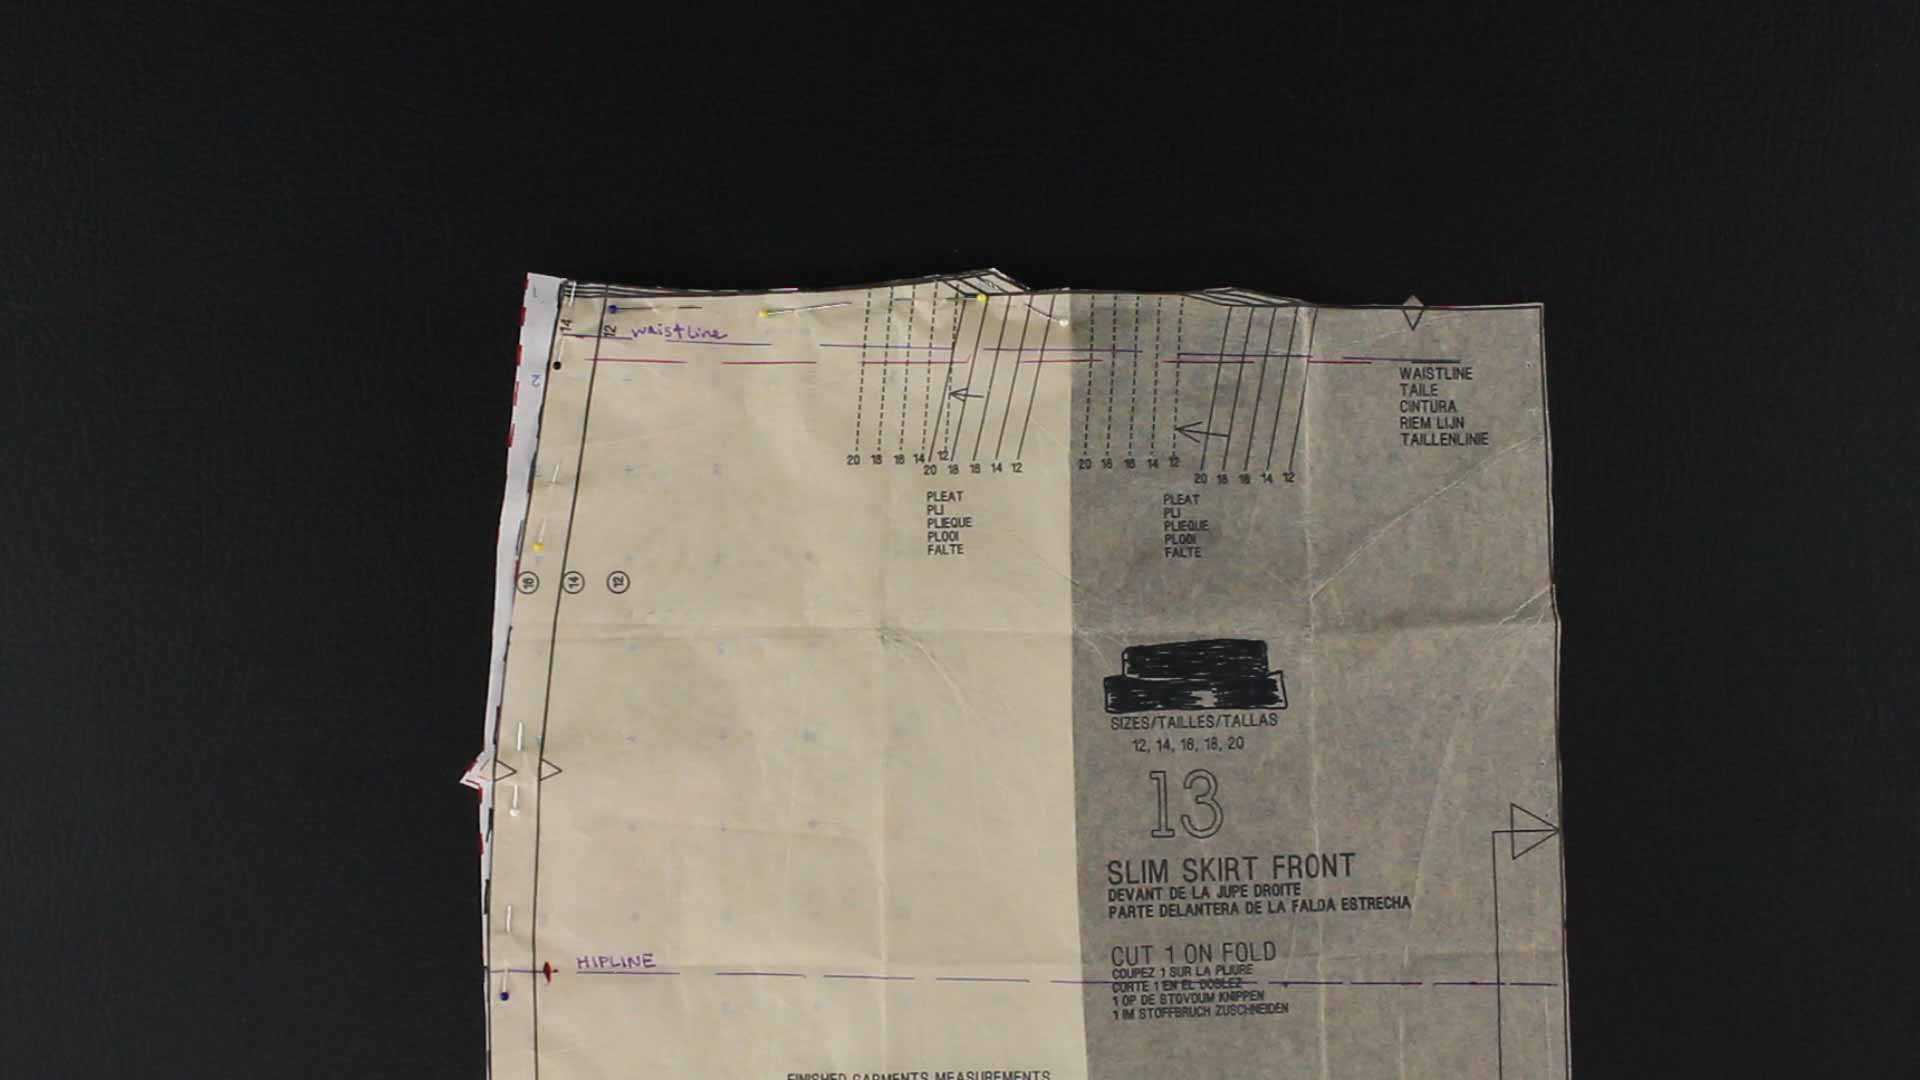
As with all alterations, I always recommend creating a muslin after making alterations to your patterns. That way you can test your adjustments before using your more expensive fabric. You don't need to fully create the completed garment but just baste the necessary pieces together so you can try it on. Then you can see if you need to make any other alterations.

Hi there! Have you checked out our tutorial on how to lengthen or shorten a bodice: https://www.professorpincushion.com/professorpincushion/lengthen-or-shorten-bodice-pattern-alteration/
I have an empire line bodice with princess seams. The mock up fits perfectly except the bodice is too short. How do I adjust this please?
Thank you so much.
The fabric is actually a cotton silk so its more forgiving than pure silk, pin marks can easily be removed etc. I made the initial muslin in calico and the wearable muslin also in cotton silk. I used a finer cotton silk as a lining for the wearable muslin and used interfacings and facings of the same cotton silk, so i know how to manipulate it now. I hand-basted the underlining and cotton silk fabric together using silk thread to hold it all together before sewing, and have used my walking foot to also reduce any fabric movement when sewing. So the fabric choice is okay! I basted in an invisible zipper to the wearable muslin too and the fit is really good, its just the midriff pattern piece being wonky that has produced the wonky side seam. I will try your pinching seam method tonight!
I have many iterations of the original pattern, having done an fba, lengthened the bodice, drafted a different shaped midriff piece to fit my breast shape better, and changed the back darts to encompass a slightly rounded upper back, so can easily do some more cutting and taping, ha! I also want to use the pattern in the future for shorter summer dresses as the style is flattering for my rectangular frame.
Its been a long and challenging process of learning, but i have used several of your videos and other online resources and have a few books and have just fiddled and played till it turned out. This is the final obstacle then i can cut the ACTUAL dress. I think the naivety of a beginner has helped!
Thank you for your comment and all your wonderful videos. With kind regards!
cute dress and you’re a brave lady for being a beginner and making your own wedding dress! 🙂 I admit, I’m always a little nervous about giving any wedding dress alteration/sewing advice so I’m glad to hear you are making a muslin to get the fit all sorted beforehand. This is what I would do if I were you. First, make sure you’re testing the fit with a zipper at least basted in. Without the zipper, sometimes you don’t get an accurate fit. Ok, you did the grading and discovered your seams are a little wonky. With it still sewn to the rest of the dress, pinch and pin this section until this section is smoothed out and looking good. Use your fabric marker to mark where you need to sew, rebaste it and retest the fit. If it looks good the second time, cut off any excess fabric (while still including seam allowance), remove stitches and use your muslin piece as your pattern because it’s already tested and works. You don’t even need to create a pattern paper, just use the muslin pattern itself. Also, I just want to point out that it’s really important to pick the right fabric. If you pick something that’s silky and thin, not only is it incredibly hard to work with but it shows everything and hiding little sewing defects are difficult. Whatever fabric you choose, definitely practice sewing on scraps so you can make sure you can sew with puckers. Good luck!! 😀
Hi, i wonder if you can offer advice. I am making my wedding dress (http://vintagepatterns.wikia.com/wiki/Butterick_5750) as a beginner (!) and have successfully altered the bodice of the dress, to lengthen the empire line so it fits below the breasts now, and i also altered the back length to match. I also sized the back bodice down as i am small backed apparently! This all fits wonderfully in the muslin. However, i am having difficulties because i need to fit a size 12 back bodice piece to a size 16 midriff piece and onto the size 16 skirt piece. I tried just grading the midriff piece from a 12 to a 16 by drawing a line between the two sizes but this changes the shape of the midriff piece at the side seam which gives wonky seams. Because i am making the dress very fitted with minimal ease and in silk, there is no room for any error or wonkiness without the dress looking dreadful! Anyway, i wondered if you could advise me or point me in the right direction please? I would be extremely and totally eternally grateful! My wedding is just 6weeks away!
Even if you took one of those measurements, you may still find yourself between sizes, unfortunately. So you may still have to do these types of adjustments to both the waist and the hip. According to McCall’s, for example, they suggest for a skirt, you choose a size with your hip measurement. For them, you might want to go with a misses size 20. This is for a hip measurement of 44″, so it’s up to you if you want to alter it to make it 1″ smaller. I say it would depend on the skirt. If it’s more of a loose fitting skirt then I would just skip this alteration and instead just do the alteration for the waist increase. The waist measurement for this size is 34″ so you would add 1 1/8″ to your side seams (4 1/2″ divided by 4) Definitely, make a muslin of your skirt to make sure you’re happy with your alteration. Hope this helps.
Help, I am a beginner and don’t know what size skirt pattern to buy. They say buy by hip but I have small hips and a fat tummy.
Measurements are 38 1/2 waist and 43 hip. What should I buy. Is the adjustment above okay for someone with my problem?
Is this for a front inserted pocket? You only have to do it for the pieces that make up part of the side seams.
I have a POCKET FACING piece and a SIDE FRONT piece would I have to increase the side front piece
Thanks so much